Start Using the FIBRE Testbed
In this section, you find the following contents:
- How to access the FIBRE Portal
- How to create your account
- How to login the FIBRE Testbed
- How to interact with the Virtual Machines
Further content of how to do your first experiment is found at: YOUR FIRST EXPERIMENT
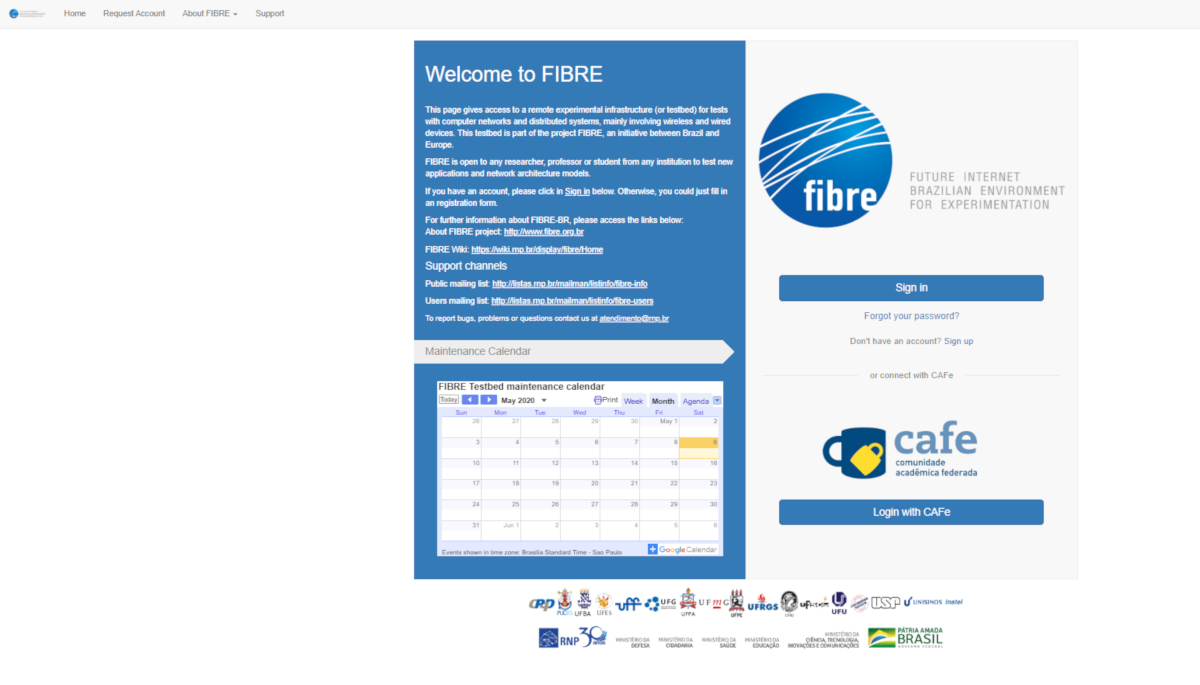
Accessing the FIBRE Portal
To start using the FIBRE Testbed click on this link: HTTPS://PORTAL.FIBRE.ORG.BR
Creating your account
Before creating your account, verify if your institution is filiated to the CAFe federation. The FIBRE Testbed supports the authentication via CAFe.To create your account, there is two options:
- Request Account – Located the top menu
- Sign Up – Bellow the Forgot your password?

By clicking on these links you will be redirected to the form where you can create your account.
Bolded fields are required to create your account.
In addition, you must accept our TERMS OF USE.
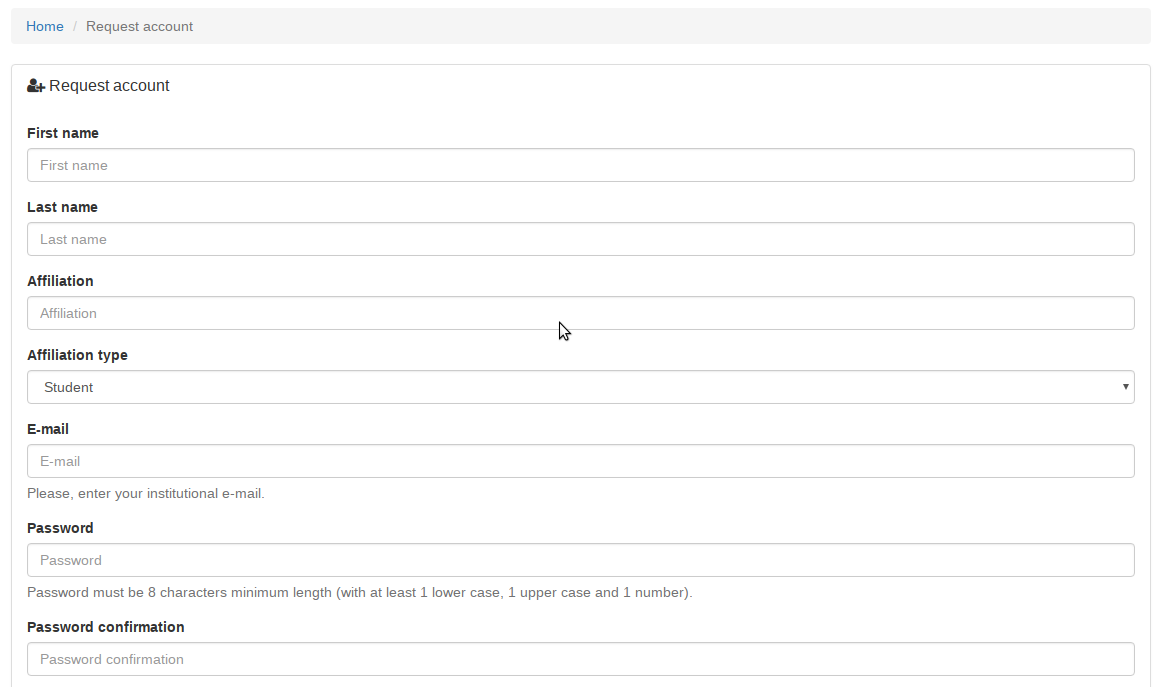
By completing the form, click on “Request Account” button and wait for our email so that you can validate your account.
After received the email, just click on the “validation link” to validate your account and you already can access the FIBRE portal.
Logging in the FIBRE Portal
To logging in the FIBRE portal, go to the portal page and click SIGN IN.
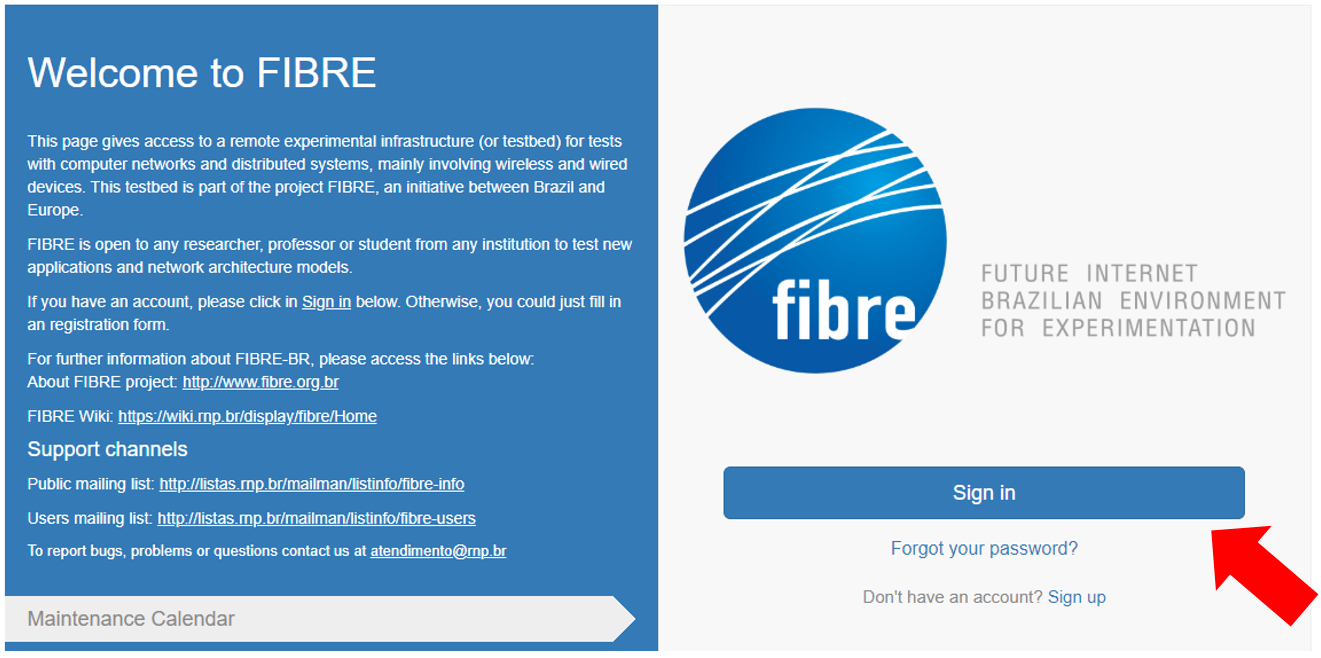
You will be redirected to the CAFE Expresso login page.
Enter your credentials and password account and click “Login” button.
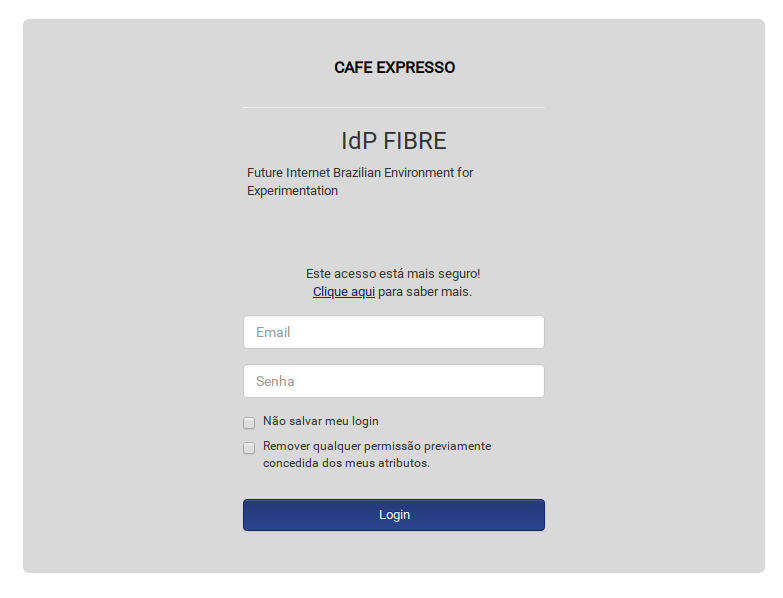
Your login will be your E-MAIL and the PASSWORD will be the one you have provided at Request Account form.
After the execution of this step, you will be directed to the “Home” of the FIBRE portal.
For further informartion of how to create a project and do your first experiment, it’s recommended that you follow through YOUR FIRST EXPERIMENT.
Interacting with Virtual Machines
To get access to the FIBRE’s Virtual Machine and starts your experiments, there is these options:
- Access your machines using a console terminal embedded in the Portal.
- Use the FIBRE VPN to have direct access to your virtual machines without using the web portal.
Using the FIBRE VPN
To make use of the FIBRE VPN, you must use the OpenVPN solution, available in this link: https://openvpn.net/index.php/download/community-downloads.html
Also, it’s necessary to use this configuration file:
Attached file: fibre-vpn.zip
You must configure OpenVPN according to your OS. Below, there are guides that explain how to configure OpenVPN for Linux and Windows.
Using Linux:
Move the attached files to: /etc/openvpn
The execute the following command:
openvpn /etc/openvpn run/FIBREvpn.ovpn
Using Windows:
Move the attached files to: C:\Program Files (x86)\OpenVPN\config\
Execute the OpenVPN GUI as Administrator, click with the right button on the OpenVPN GUI executable and choose “Run as administrator”.
When OpenVPN GUI is started your config folder (C:\Program Files\OpenVPN\config) will be scanned for .ovpn files, and an icon will be displayed in the taskbar’s status area. Click with the right button on the icon and choose the “FIBREvpn” VPN than “Connect”.
After that, type your username and password to connect to the VPN.
Note that your username must be in the format username@institution.